Distribute a game
When you're ready to publish your game, create a release build from Visual Studio, then distribute it.
1. Create a release build
If you've built your game in Release mode before, in your project folder (eg MyGame/Bin/MyPlatform/Release/), delete the Data folder. This folder might contain unnecessary files, such as old versions of assets, so it's simplest to build it again from scratch.
Open your project in Game Studio.
In the toolbar, click the drop-down menu and select Visual Studio.

Your project opens in Visual Studio.
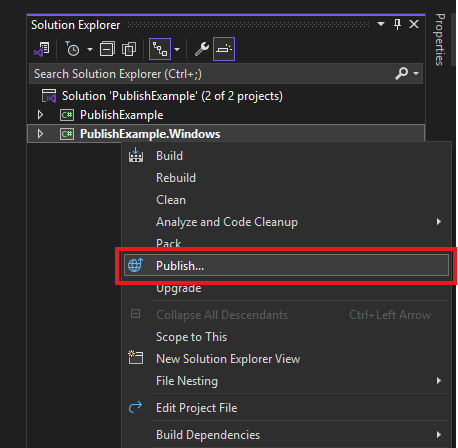
In Visual Studio, from the Solution Explorer right click your Windows project and select Publish
Select the Target Folder in the publish window.
Select the Specified target Folder again.
Confirm the output folder and Click Finish.
You should now see the Publish view where you can manage the project export settings.
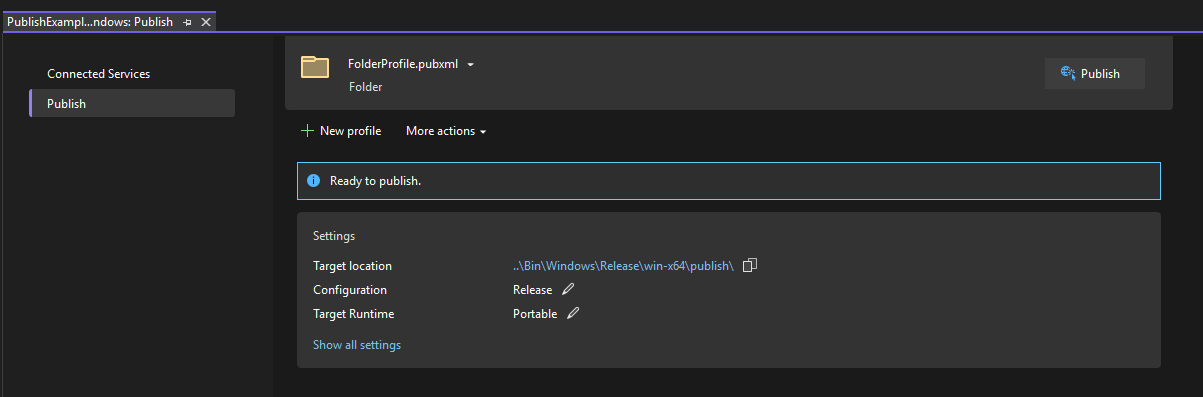
Finally you can click publish and see your project in the output folder you selected at step 6
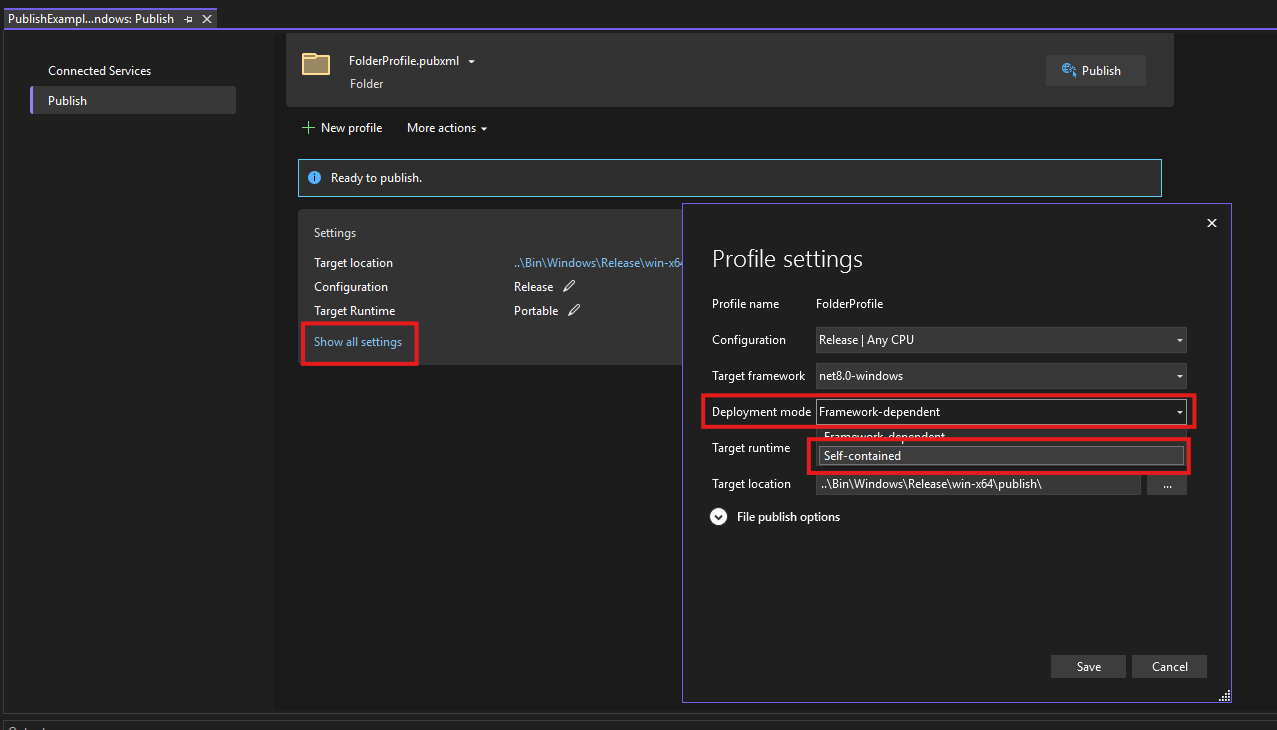
Optionally you can also include the .NET runtime in your exported game to reduce a dependancy on the user.
Select Show all settings -> Deployment mode -> Self-contained -> Save
Note
You can only build for platforms you've added to your Stride project. For instructions about how to do this, see Add or remove a platform.
To build for Android or iOS, you need Xamarin, which is included with Visual Studio licenses. For instructions about how to install Xamarin with Visual Studio 2017, see this MSDN page.
Under Build, select Publish Selection and click the Publish button.
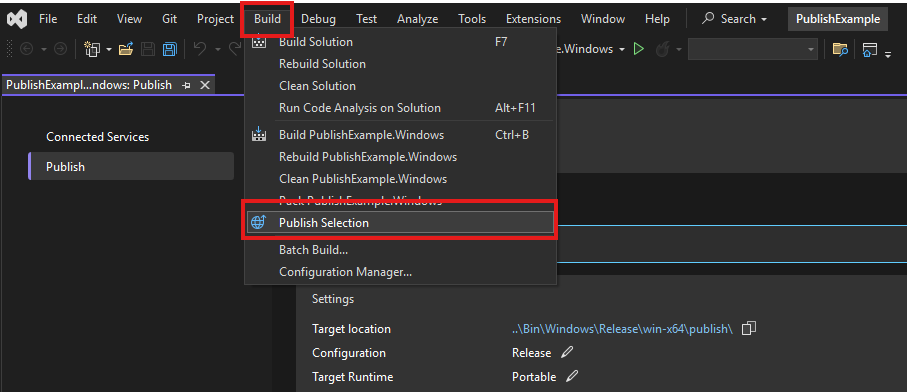
Visual Studio creates a release build in your selected output folder.
Tip
You might want to rename the Release folder to something more descriptive (such as the title of your game).
To build using terminal instead of Visual Studio
Ensure the relevant .NET SDK is installed (Stride 4.3 is on .NET 10)
Open the folder of your project where the
*.Windows.csprojfile sits.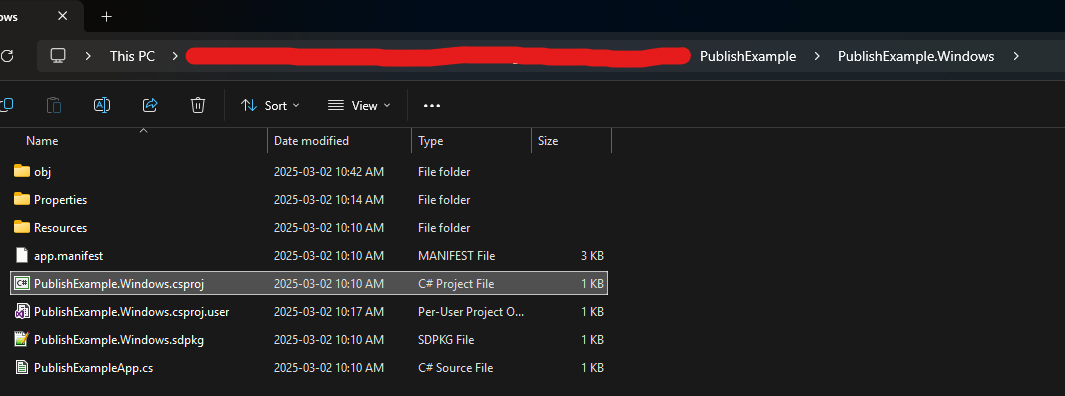
Type
cmdin the search bar to open the folder easily in terminal.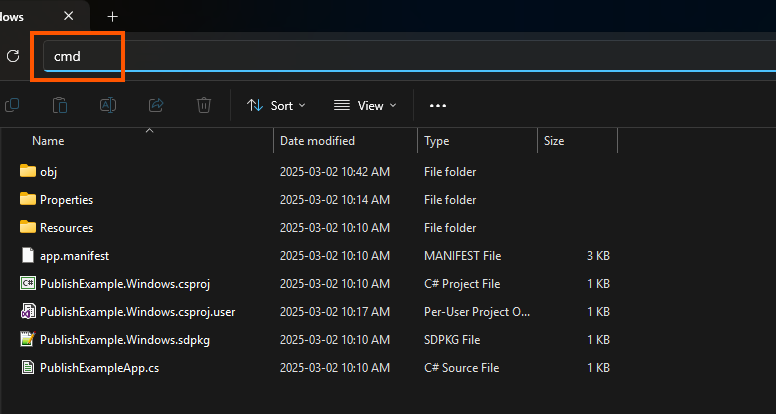
Finally publish with the command
dotnet publishor the below to include the .NET runtime with your game
dotnet publish -r win-x64 --self-contained true -- framework net10.0-windowsYou can also append
--output <YOUR_EXPORT_FOLDER>to specify where to export to.
2. Delete unnecessary files
In the release folder in your project bin folder (eg MyGame/Bin/MyPlatform/Release), you can delete the following unnecessary files:
.pdbfiles (debug information).xmlfiles (API documentation)- files that contain
vshostin their filenames (egMyGame5.vshost.exeandMyGame5.vshost.exe.manifest) - folders other than the
x64,x86, ordatafolders - other unnecessary files, such as custom configuration files (ie files not created with Stride)
3. Distribute your game
After you create a release build, how you distribute it is up to you.
To run games made with Stride on Windows, users need:
- .NET 10 Runtime (Unless you published with self-contained)
- DirectX11 (included with Windows 10 and later), OpenGL, or Vulkan
- Visual C++ 2015 runtimes (x86 and/or x64, depending on what you set in your project properties in Visual Studio)